
what to expect
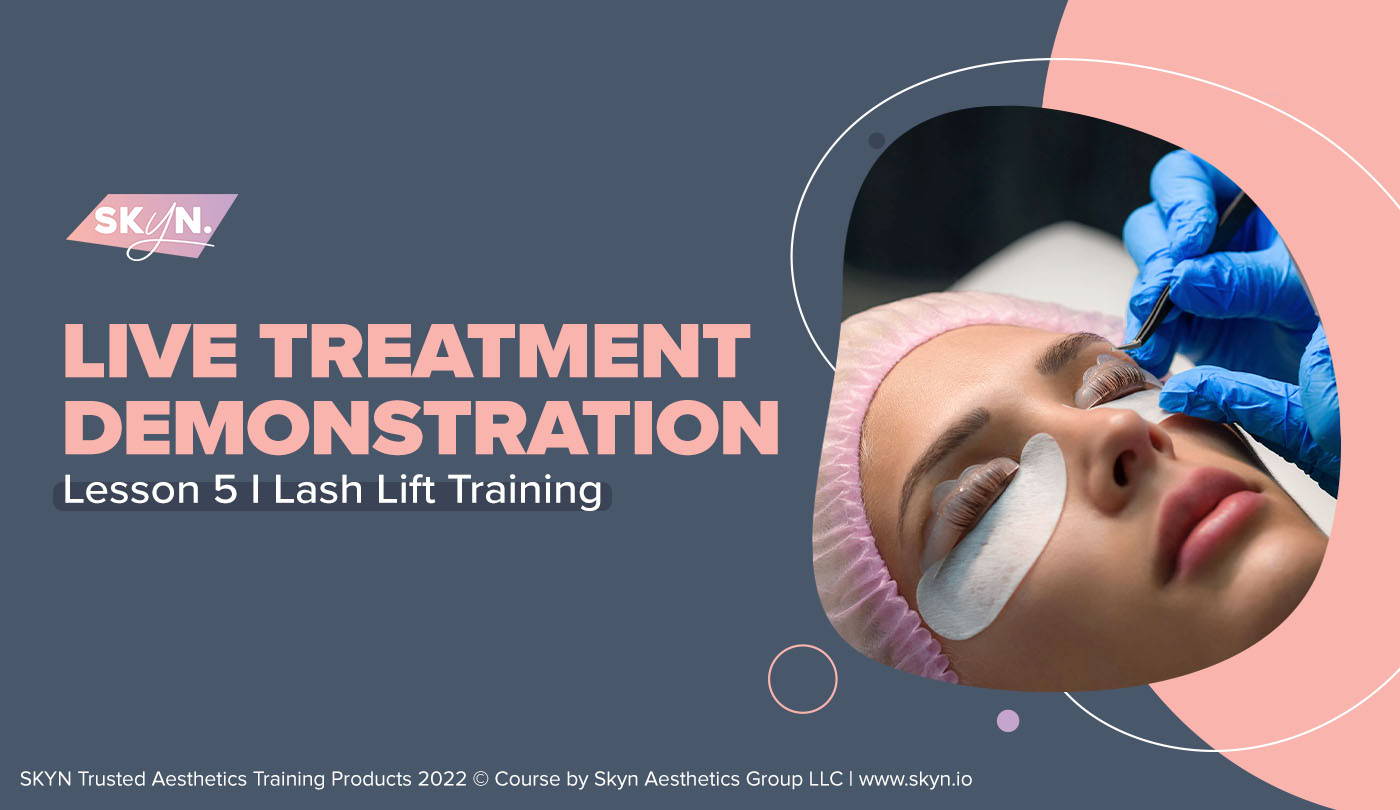
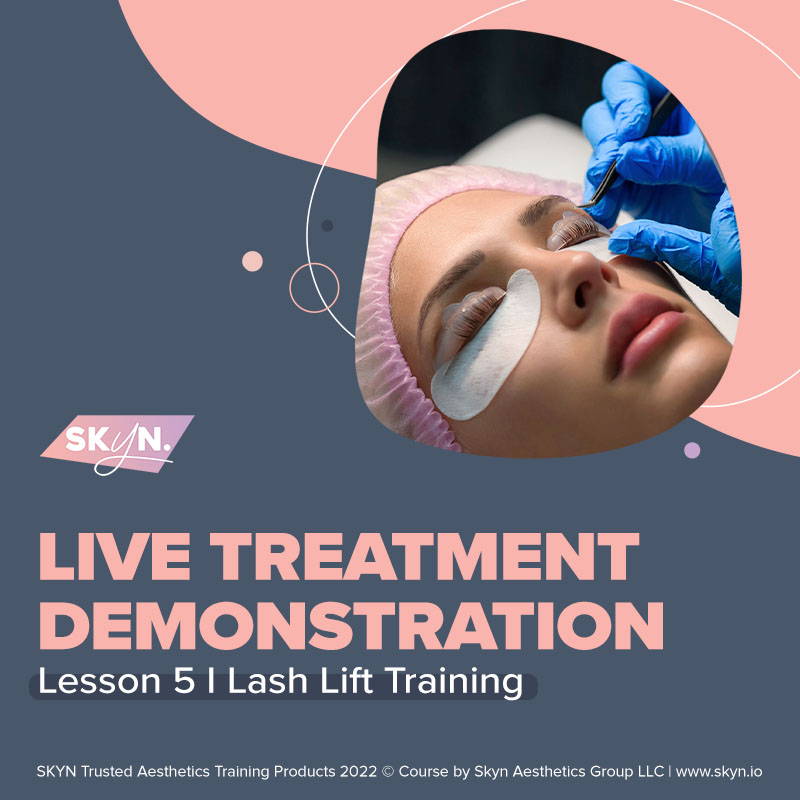
The video will provide you with an example of how to perform a lash lift on your client. When you perform a lash lift you need to predetermine what size lift your client is looking for. In the Skyn Lash Lift Kit there are size options to choose from ranging from a small lift to a large, prominent lift. This will give you guidelines on how to perform the lift from start to finish and what to expect.
Even though this is a lift or a 'perm' of the lashes, it will fade over time and the lashes will return to their natural state. Your client can come back in 8 weeks to perform additional lash lifts but remember they should be at least 8 weeks apart to prevent damage and breakage.
WHAT YOU WILL LEARN
LESSON 1
lash lift procedure
The first thing we do before any procedure is to sanitize the area with an alcohol wipe. Be sure to rid the area of any excess oils, makeup residue, or bacteria.
STEP 1 EYE PAD APPLICATION
Select the appropriate eyelash pad you and your client agreed on. Place a fair amount of glue on the back of the eyelash pad. Wait a moment so allow for the glue to become a little tacky, then place on the upper part of the eyelid. It will fit snug on the eyelid, but depending on the eye shape the ends of the pad might stick out.
Use the glue applicator to place the glue on the pad, then gently use the pink applicator or your clean finger to curl the lashes up onto the glue and pad. Once they're on, let them sit for a minute. Use your eyelash comb to brush the eyelashes into their place. If some of the lashes come off, it's okay and you'll see why in a few steps. Your finger is also okay to use to place the lashes on the pads.
STEP 2 APPLY SERUM #1
Once on the pads, use an applicator to place the serum onto the lashes on the pads. Do so gently and place a fair amount of the serum on. Once you have it on in an even line, use a sterile wrap to lift any fallen lashes onto the pad and seal them down. This is why it's okay if some of the lashes fall off the pad, you can use the wrap to hold them up.
Let them sit for about 8-10 minutes.
STEP 3 APPLY FIXATION SERUM
After 8-10 minutes, take the wrap off of the lashes and use an applicator to gently remove some of serum #1. Once you've done so, apply the fixation serum to the lashes and onto the pad. Place a fair amount of it on, you want to make sure each lash is coated. Place a new sterile piece of wrap over the lashes and let them rest.
Let it sit for 8-10 minutes.
STEP 4 NOURISHMENT
Once 8-10 minutes have passed, remove the wrap. Wipe the serums off the lashes using an applicator. Once you've done so you can place the nourishment onto the lashes while on the pad to loosen them. Peel the pad off of the eye and the lashes. Wipe away and reside on the skin using water or with the nourishing serum. Once done, comb the lashes with a dry wand. Use the nourishing applicator to apply the nourishing serum onto the lashes and brush through. You don't want to put too much on and over damp them, so do one swoop through the lashes with the nourishing serum. Brush the lashes again.
Tell your client to smile and take a photo :)
Procedure Tips:
lash lift Procedure After Care
- Avoid direct sunlight, steam rooms, swimming pools, and sunbeds for the next 48 hours
over processed hair
any Questions?
Please email us at edu@skyn.io | It may take up to 48 hours to reply